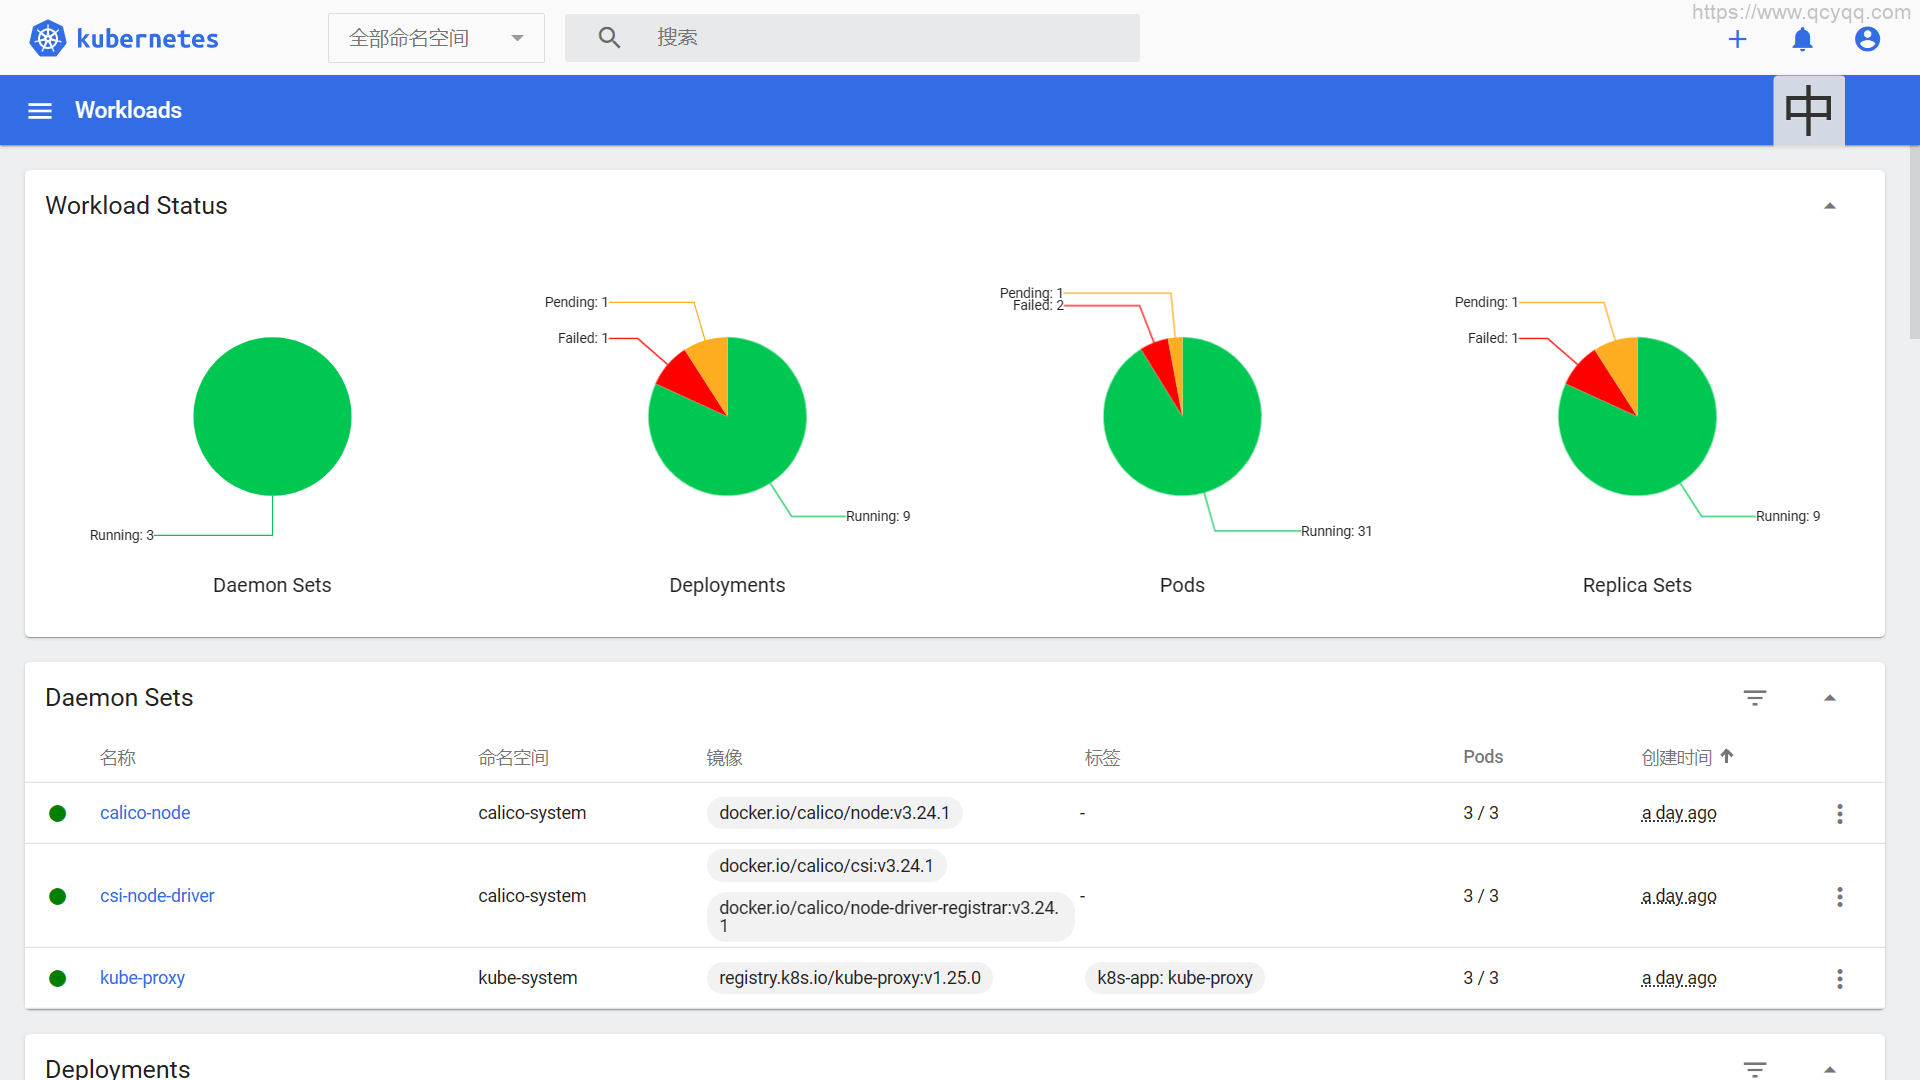
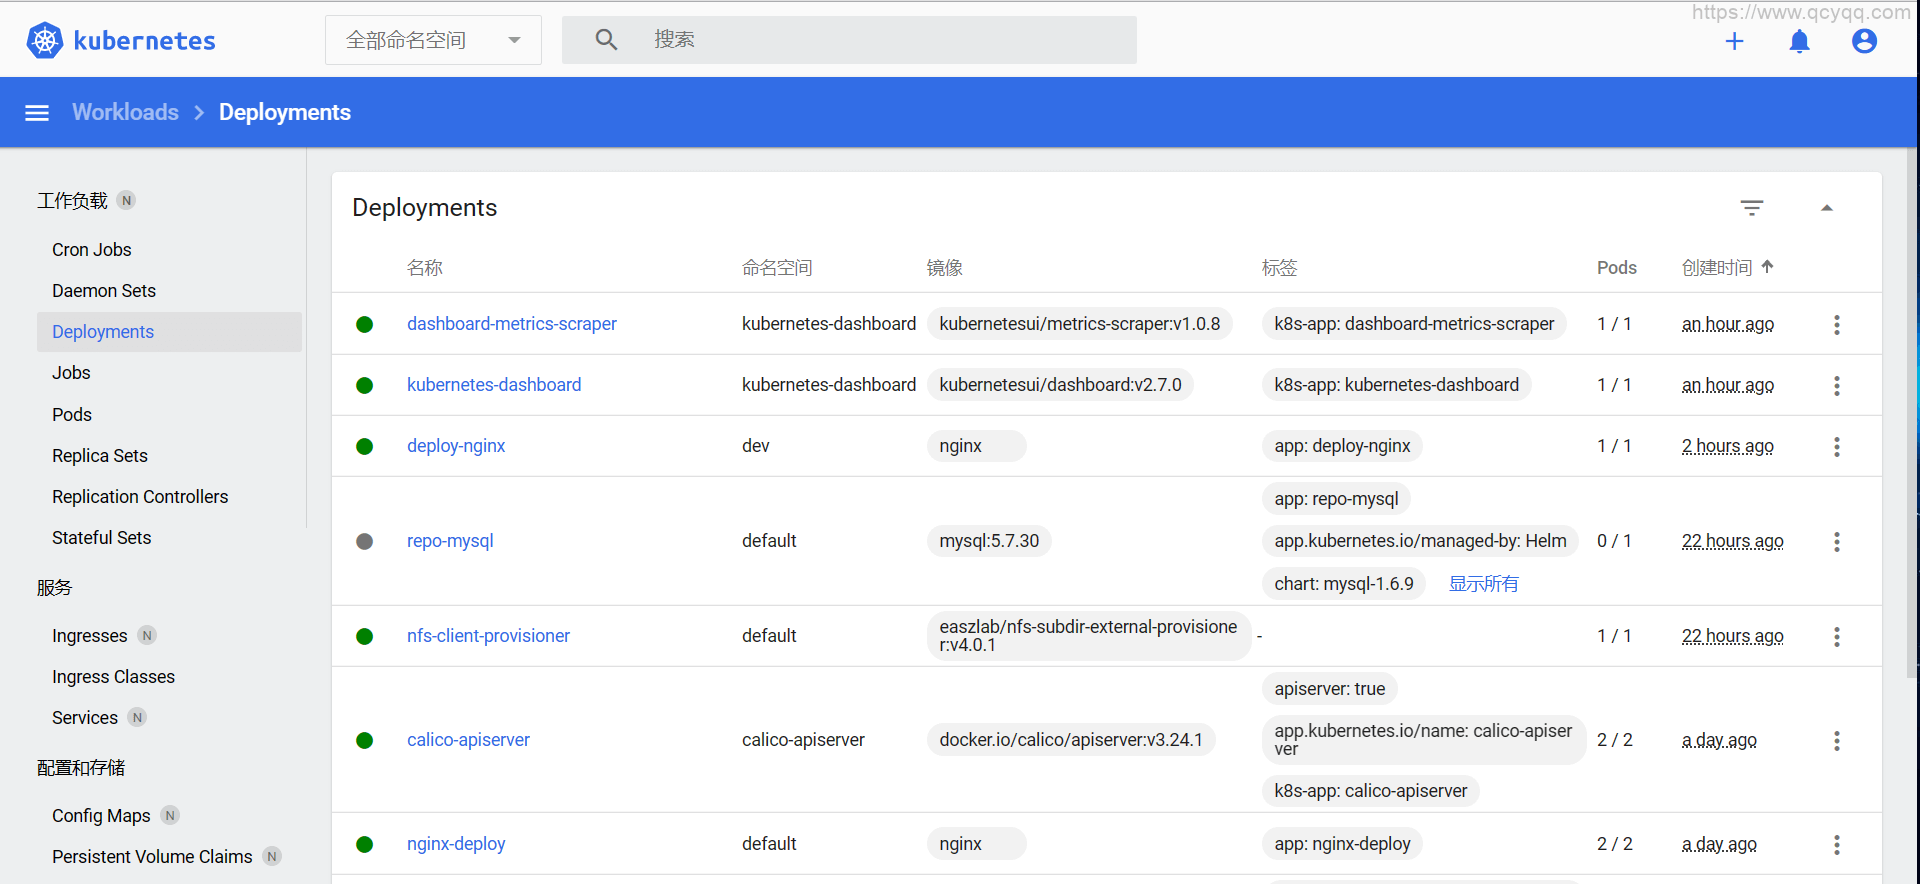
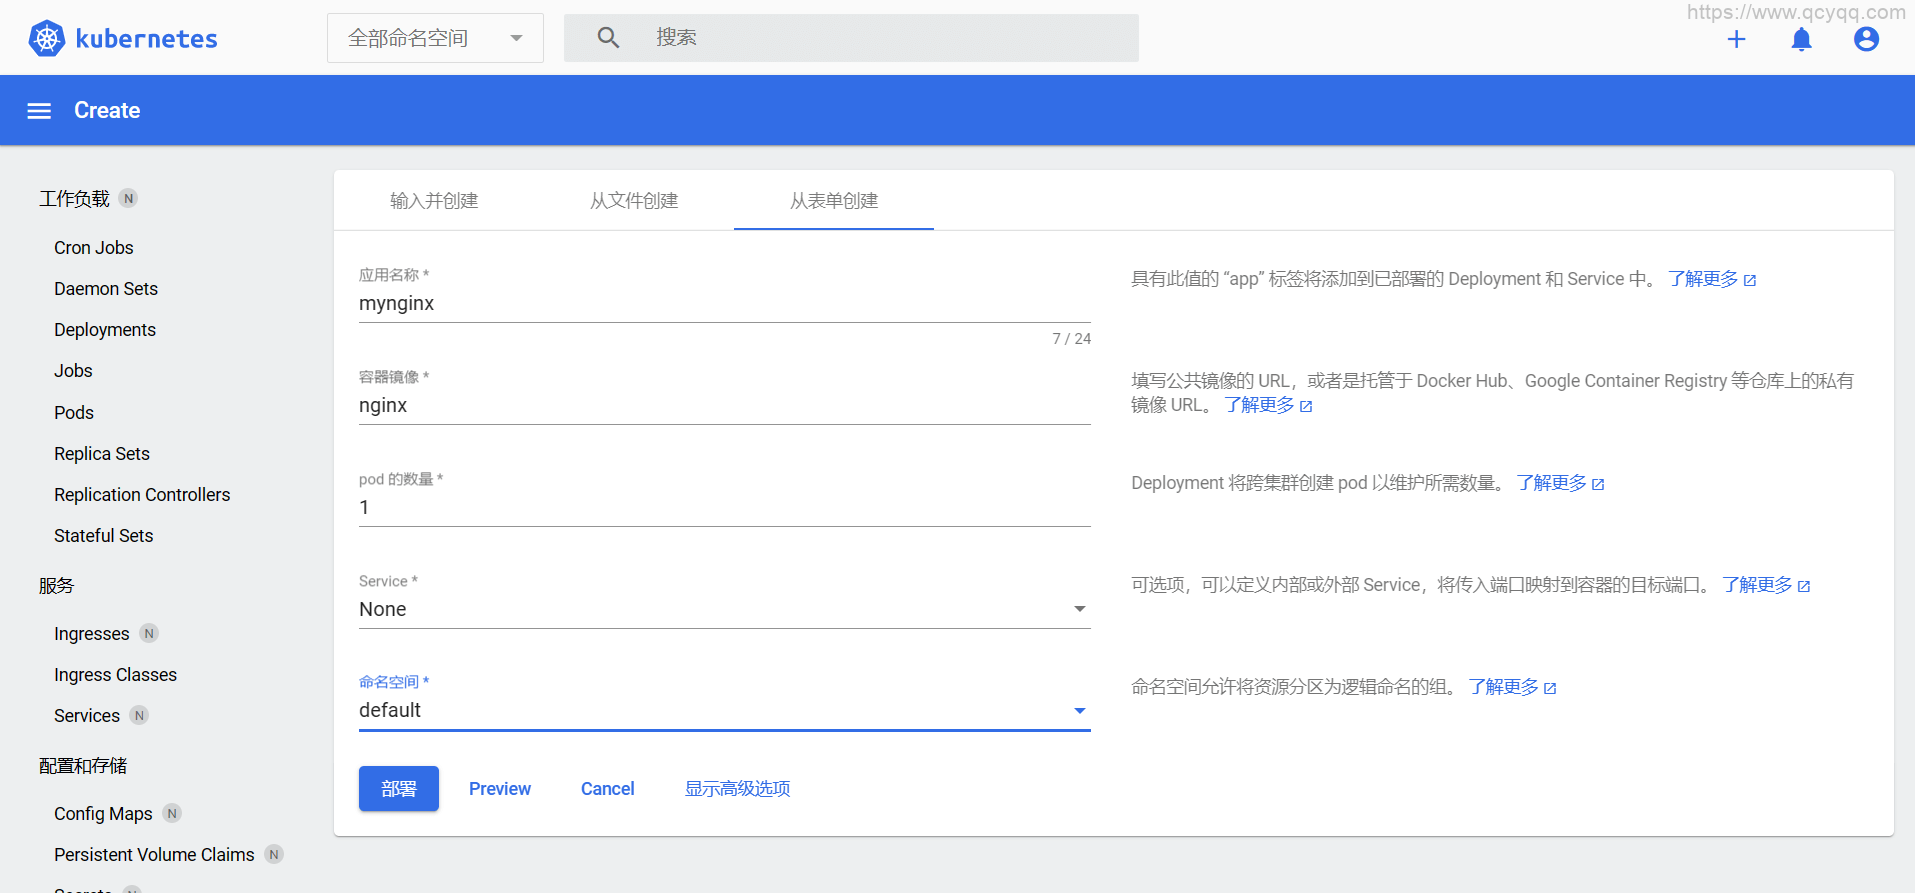
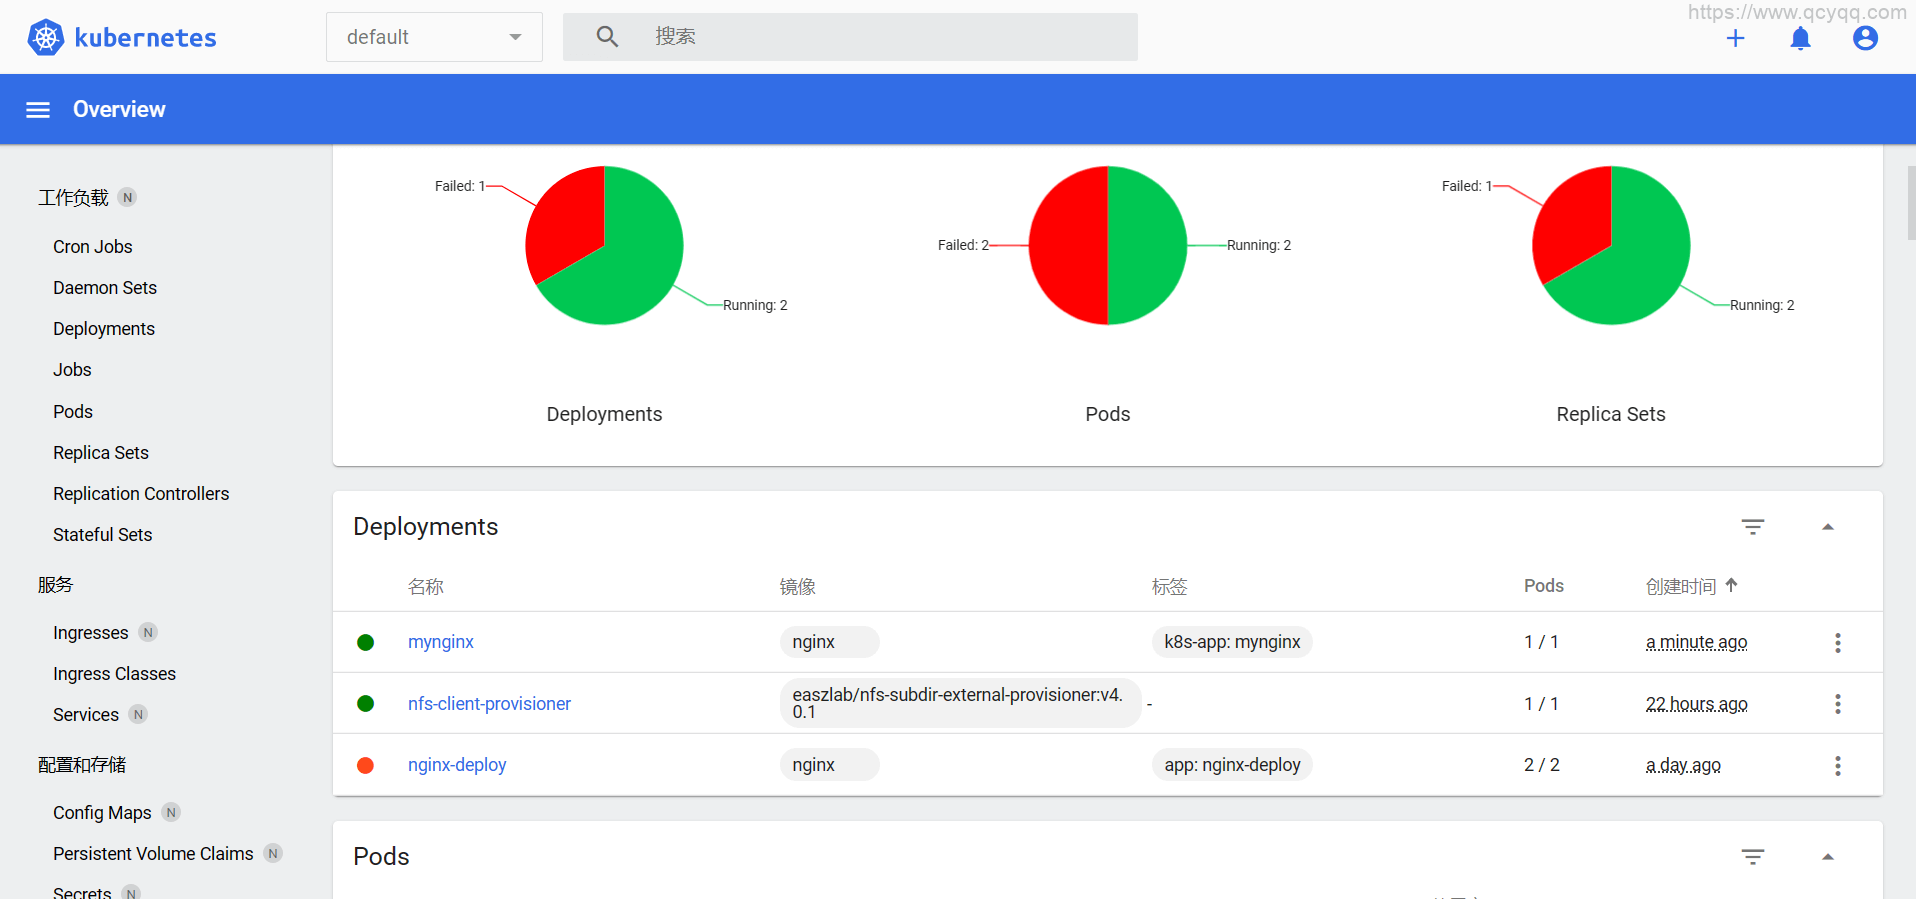
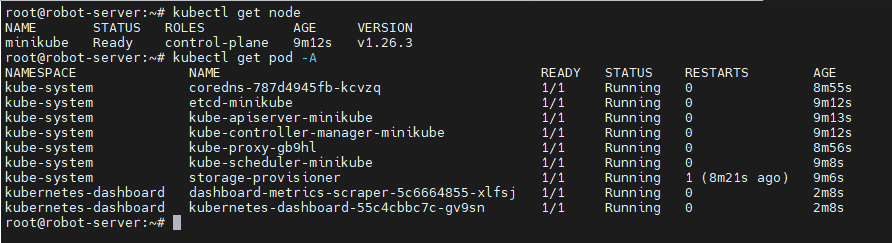
- ReplicationController:比较原始的pod控制器,已经被废弃,由ReplicaSet替代
- ReplicaSet:保证副本数量一直维持在期望值,并支持pod数量扩缩容,镜像版本升级
- Deployment:通过控制ReplicaSet来控制Pod,并支持滚动升级、回退版本
- Horizontal Pod Autoscaler:可以根据集群负载自动水平调整Pod的数量,实现削峰填谷
- DaemonSet:在集群中的指定Node上运行且仅运行一个副本,一般用于守护进程类的任务
- Job:它创建出来的pod只要完成任务就立即退出,不需要重启或重建,用于执行一次性任务
- Cronjob:它创建的Pod负责周期性任务控制,不需要持续后台运行
- StatefulSet:管理有状态应用
1、Pod
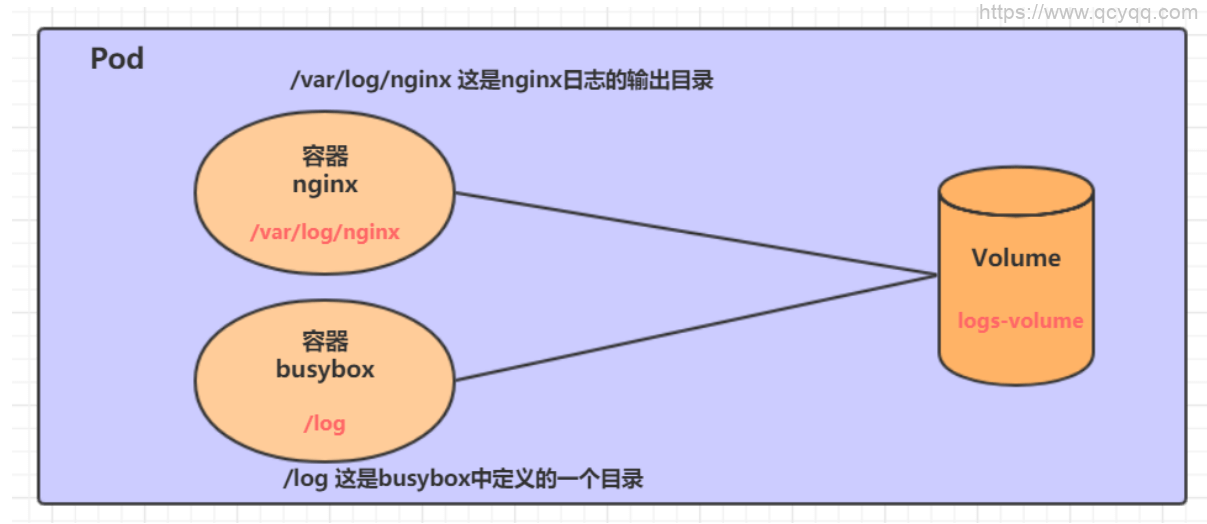
每个Pod中都可以包含一个或者多个容器,这些容器可以分为两类:
- 用户程序所在的容器,数量可多可少
- Pause容器,这是每个Pod都会有的一个根容器,它的作用有两个:
- 可以以它为依据,评估整个Pod的健康状态
- 可以在根容器上设置Ip地址,其它容器都此Ip(Pod IP),以实现Pod内部的网路通信
这里是Pod内部的通讯,Pod的之间的通讯采用虚拟二层网络技术来实现,我们当前环境用的是Flannel
1.1 Pod 资源清单
apiVersion: v1
kind: Pod
metadata:
name: string
namespace: string
labels:
name: string
spec:
containers:
- name: string
image: string
imagePullPolicy: [ Always|Never|IfNotPresent ]
command: [string]
args: [string]
workingDir: string
volumeMounts:
- name: string
mountPath: string
readOnly: boolean
ports:
- name: string
containerPort: int
hostPort: int
protocol: string
env:
- name: string
value: string
resources:
limits:
cpu: string
memory: string
requests:
cpu: string
memory: string
lifecycle:
postStart:
preStop:
livenessProbe:
exec:
command: [string]
httpGet:
path: string
port: number
host: string
scheme: string
HttpHeaders:
- name: string
value: string
tcpSocket:
port: number
initialDelaySeconds: 0
timeoutSeconds: 0
periodSeconds: 0
successThreshold: 0
failureThreshold: 0
securityContext:
privileged: false
restartPolicy: [Always | Never | OnFailure]
nodeName: <string>
nodeSelector: obeject
imagePullSecrets:
- name: string
hostNetwork: false
volumes:
- name: string
emptyDir: {}
hostPath: string
path: string
secret:
scretname: string
items:
- key: string
path: string
configMap:
name: string
items:
- key: string
path: string
1.2 示例
apiVersion: v1
kind: Pod
metadata:
name: nb-pod
labels:
app: nginx-pod
spec:
containers:
- name: busybox
image: busybox
imagePullPolicy: IfNotPresent
command: ["sh", "-c", "while true;do /bin/echo $(date +%T) >> /tmp/index.html; sleep 10; done;"]
volumeMounts:
- name: nginx-home
mountPath: /tmp
- name: nginx
image: nginx:1.17.1
lifecycle:
postStart:
exec:
command: ["/bin/sh", "-c", "echo postStart... > /usr/share/nginx/html/index.html"]
preStop:
exec:
command: ["/bin/sh", "-c", "echo preStop... >> /usr/share/nginx/html/index.html"]
livenessProbe:
httpGet:
scheme: HTTP
host: 127.0.0.1
port: 80
path: /
workingDir: /usr/share/nginx/html
ports:
- containerPort: 80
env:
- name: "username"
value: "hausen1012"
- name: "password"
value: "123456"
volumeMounts:
- name: nginx-home
mountPath: /usr/share/nginx/html
restartPolicy: OnFailure
nodeName: node1
hostNetwork: true
volumes:
- name: nginx-home
hostPath:
path: /root/html
2、ReplicaSet (rs)
ReplicaSet的主要作用是保证一定数量的pod正常运行,它会持续监听这些Pod的运行状态,一旦Pod发生故障,就会重启或重建。同时它还支持对pod数量的扩缩容和镜像版本的升降级。
2.1 rs 资源清单
apiVersion: apps/v1
kind: ReplicaSet
metadata:
name:
namespace:
labels:
controller: rs
spec:
replicas: 3
selector:
matchLabels:
app: nginx-pod
matchExpressions:
- {key: app, operator: In, values: [nginx-pod]}
template:
metadata:
labels:
app: nginx-pod
spec:
containers:
- name: nginx
image: nginx:1.17.1
ports:
- containerPort: 80
2.2 示例
pc-replicaset.yml
apiVersion: apps/v1
kind: ReplicaSet
metadata:
name: pc-replicaset
spec:
replicas: 3
selector:
matchLabels:
app: nginx-pod
template:
metadata:
labels:
app: nginx-pod
spec:
containers:
- name: nginx
image: nginx:1.17.1
2.3 命令
kubectl create -f pc-replicaset.yml
kubectl get all -o wide
kubectl edit rs pc-replicaset
kubectl scale rs pc-replicaset --replicas=2
kubectl set image rs pc-replicaset nginx=nginx:1.17.2
kubectl delete -f pc-replicaset.yml
3、Deployment (depoly)
为了更好的解决服务编排的问题,kubernetes在V1.2版本开始,引入了Deployment控制器。值得一提的是,这种控制器并不直接管理pod,而是通过管理ReplicaSet来简介管理Pod,即:Deployment管理ReplicaSet,ReplicaSet管理Pod。所以Deployment比ReplicaSet功能更加强大。
Deployment主要功能有下面几个:
- 支持ReplicaSet的所有功能
- 支持发布的停止、继续
- 支持滚动升级和回滚版本
3.1 deploy 资源清单
apiVersion: apps/v1
kind: Deployment
metadata:
name:
namespace:
labels:
controller: deploy
spec:
replicas: 3
revisionHistoryLimit: 3
paused: false
progressDeadlineSeconds: 600
strategy:
type: RollingUpdate
rollingUpdate:
maxSurge: 30%
maxUnavailable: 30%
selector:
matchLabels:
app: nginx-pod
matchExpressions:
- {key: app, operator: In, values: [nginx-pod]}
template:
metadata:
labels:
app: nginx-pod
spec:
containers:
- name: nginx
image: nginx:1.17.1
ports:
- containerPort: 80
3.2 示例
pc-deployment.yml
apiVersion: apps/v1
kind: Deployment
metadata:
name: pc-deployment
spec:
replicas: 3
revisionHistoryLimit: 10
selector:
matchLabels:
app: nginx-pod
strategy:
type: RollingUpdate
rollingUpdate:
maxSurge: 25%
maxUnavailable: 25%
template:
metadata:
labels:
app: nginx-pod
spec:
containers:
- name: nginx
image: nginx:1.17.1
3.3 命令
kubectl create -f pc-deployment.yml --record=true
kubectl get all -o wide
kubectl edit deploy pc-deployment
kubectl scale deploy pc-deployment --replicas=6
kubectl set image deploy pc-deployment nginx=nginx:1.17.2
kubectl delete -f pc-deployment.yml
kubectl rollout:
- status 显示当前升级状态
- history 显示 升级历史记录
- pause 暂停版本升级过程
- resume 继续已经暂停的版本升级过程
- restart 重启版本升级过程
- undo 回滚到上一级版本(可以使用--to-revision回滚到指定版本)
kubectl rollout status deploy pc-deployment
kubectl rollout history deploy pc-deployment
kubectl set image deploy pc-deployment nginx=nginx:1.17.1 && kubectl rollout pause deploy pc-deployment
kubectl rollout resume deploy pc-deployment
kubectl rollout undo deploy pc-deployment
kubectl rollout undo deployment pc-deployment --to-revision=1
4、Horizontal Pod Autoscaler(hpa)
在前面的课程中,我们已经可以实现通过手工执行kubectl scale命令实现Pod扩容或缩容,但是这显然不符合Kubernetes的定位目标–自动化、智能化。 Kubernetes期望可以实现通过监测Pod的使用情况,实现pod数量的自动调整,于是就产生了Horizontal Pod Autoscaler(HPA)这种控制器。
HPA可以获取每个Pod利用率,然后和HPA中定义的指标进行对比,同时计算出需要伸缩的具体值,最后实现Pod的数量的调整。其实HPA与之前的Deployment一样,也属于一种Kubernetes资源对象,它通过追踪分析RC控制的所有目标Pod的负载变化情况,来确定是否需要针对性地调整目标Pod的副本数,这是HPA的实现原理。
4.1 准备工作
安装 metrics-server
方法1
1、修改 kube-apiserver.yaml
vim /etc/kubernetes/manifests/kube-apiserver.yaml
在 - --enable-bootstrap-token-auth=true 下添加 - --enable-aggregator-routing=true
2、更新 apiserver
kubectl apply -f /etc/kubernetes/manifests/kube-apiserver.yaml
3、在每个机器上执行
docker pull cnskylee/metrics-server:v0.5.0 && docker tag cnskylee/metrics-server:v0.5.0 k8s.gcr.io/metrics-server/metrics-server:v0.5.0
4、编写 yaml 文件 components-v0.5.0.yaml
5、启动
kubectl apply -f ./components-v0.5.0.yaml
6、查看运行状态
kubectl get pods -n kube-system| egrep 'NAME|metrics-server'
7、测试kubectl top命令的使用
kubectl top pods -n kube-system
components-v0.5.0.yaml
apiVersion: v1
kind: ServiceAccount
metadata:
  labels:
    k8s-app: metrics-server
  name: metrics-server
  namespace: kube-system
---
apiVersion: rbac.authorization.k8s.io/v1
kind: ClusterRole
metadata:
  labels:
    k8s-app: metrics-server
    rbac.authorization.k8s.io/aggregate-to-admin: "true"
    rbac.authorization.k8s.io/aggregate-to-edit: "true"
    rbac.authorization.k8s.io/aggregate-to-view: "true"
  name: system:aggregated-metrics-reader
rules:
- apiGroups:
  - metrics.k8s.io
  resources:
  - pods
  - nodes
  verbs:
  - get
  - list
  - watch
---
apiVersion: rbac.authorization.k8s.io/v1
kind: ClusterRole
metadata:
  labels:
    k8s-app: metrics-server
  name: system:metrics-server
rules:
- apiGroups:
  - ""
  resources:
  - pods
  - nodes
  - nodes/stats
  - namespaces
  - configmaps
  verbs:
  - get
  - list
  - watch
---
apiVersion: rbac.authorization.k8s.io/v1
kind: RoleBinding
metadata:
  labels:
    k8s-app: metrics-server
  name: metrics-server-auth-reader
  namespace: kube-system
roleRef:
  apiGroup: rbac.authorization.k8s.io
  kind: Role
  name: extension-apiserver-authentication-reader
subjects:
- kind: ServiceAccount
  name: metrics-server
  namespace: kube-system
---
apiVersion: rbac.authorization.k8s.io/v1
kind: ClusterRoleBinding
metadata:
  labels:
    k8s-app: metrics-server
  name: metrics-server:system:auth-delegator
roleRef:
  apiGroup: rbac.authorization.k8s.io
  kind: ClusterRole
  name: system:auth-delegator
subjects:
- kind: ServiceAccount
  name: metrics-server
  namespace: kube-system
---
apiVersion: rbac.authorization.k8s.io/v1
kind: ClusterRoleBinding
metadata:
  labels:
    k8s-app: metrics-server
  name: system:metrics-server
roleRef:
  apiGroup: rbac.authorization.k8s.io
  kind: ClusterRole
  name: system:metrics-server
subjects:
- kind: ServiceAccount
  name: metrics-server
  namespace: kube-system
---
apiVersion: v1
kind: Service
metadata:
  labels:
    k8s-app: metrics-server
  name: metrics-server
  namespace: kube-system
spec:
  ports:
  - name: https
    port: 443
    protocol: TCP
    targetPort: https
  selector:
    k8s-app: metrics-server
---
apiVersion: apps/v1
kind: Deployment
metadata:
  labels:
    k8s-app: metrics-server
  name: metrics-server
  namespace: kube-system
spec:
  selector:
    matchLabels:
      k8s-app: metrics-server
  strategy:
    rollingUpdate:
      maxUnavailable: 0
  template:
    metadata:
      labels:
        k8s-app: metrics-server
    spec:
      containers:
      - args:
        - --cert-dir=/tmp
        - --secure-port=443
        - --kubelet-preferred-address-types=InternalIP,ExternalIP,Hostname
        - --kubelet-use-node-status-port
        - --metric-resolution=15s
        - --kubelet-insecure-tls
        image: k8s.gcr.io/metrics-server/metrics-server:v0.5.0
        imagePullPolicy: IfNotPresent
        livenessProbe:
          failureThreshold: 3
          httpGet:
            path: /livez
            port: https
            scheme: HTTPS
          periodSeconds: 10
        name: metrics-server
        ports:
        - containerPort: 443
          name: https
          protocol: TCP
        readinessProbe:
          failureThreshold: 3
          httpGet:
            path: /readyz
            port: https
            scheme: HTTPS
          initialDelaySeconds: 20
          periodSeconds: 10
        resources:
          requests:
            cpu: 100m
            memory: 200Mi
        securityContext:
          readOnlyRootFilesystem: true
          runAsNonRoot: true
          runAsUser: 1000
        volumeMounts:
        - mountPath: /tmp
          name: tmp-dir
      nodeSelector:
        kubernetes.io/os: linux
      priorityClassName: system-cluster-critical
      serviceAccountName: metrics-server
      volumes:
      - emptyDir: {}
        name: tmp-dir
---
apiVersion: apiregistration.k8s.io/v1
kind: APIService
metadata:
  labels:
    k8s-app: metrics-server
  name: v1beta1.metrics.k8s.io
spec:
  group: metrics.k8s.io
  groupPriorityMinimum: 100
  insecureSkipTLSVerify: true
  service:
    name: metrics-server
    namespace: kube-system
  version: v1beta1
  versionPriority: 100
方法2(似乎有问题)
yum install git -y
git clone -b release-0.3 https://github.com/kubernetes-incubator/metrics-server
cd metrics-server/deploy/1.8+
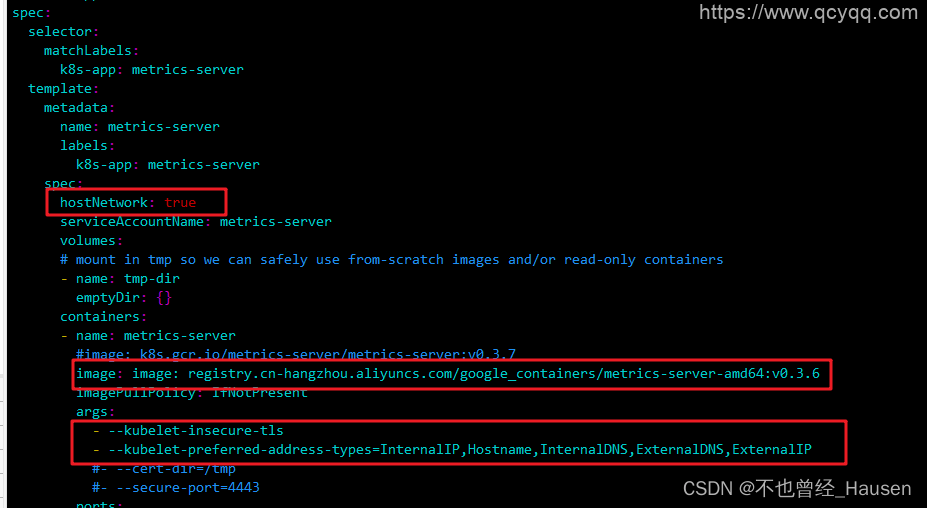
vim metrics-server-deployment.yaml
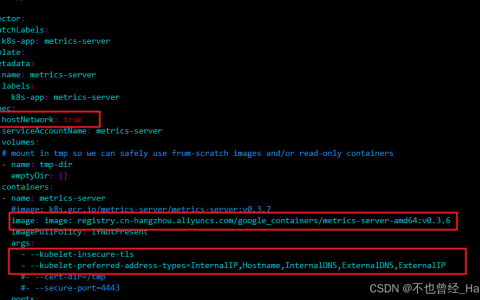
hostNetwork: true
image: registry.cn-hangzhou.aliyuncs.com/google_containers/metrics-server-amd64:v0.3.6
args:
- --kubelet-insecure-tls
- --kubelet-preferred-address-types=InternalIP,Hostname,InternalDNS,ExternalDNS,ExternalIP
kubectl apply -f ./
kubectl get pod -n kube-system
kubectl top node
kubectl top pod
4.2 示例
deploy-sevice.yml
kind: Deployment
metadata:
name: nginx-deploy
spec:
strategy:
type: RollingUpdate
replicas: 1
selector:
matchLabels:
app: nginx-pod
template:
metadata:
labels:
app: nginx-pod
spec:
containers:
- name: nginx
image: nginx:1.17.1
resources:
limits:
cpu: "1"
requests:
cpu: "100m"
---
apiVersion: v1
kind: Service
metadata:
name: nginx-service
spec:
selector:
app: nginx-pod
type: NodePort
ports:
- port: 80
targetPort: 80
nodePort: 31100
pc-hpa.yml
apiVersion: app/v1
kind: HorizontalPodAutoscaler
metadata:
name: pc-hpa
spec:
minReplicas: 1
maxReplicas: 10
targetCPUUtilizationPercentage: 3
scaleTargetRef:
apiVersion: apps/v1
kind: Deployment
name: nginx-deploy
4.3 命令
kubectl apply -f deploy-service.yml
kubectl create -f pc-hpa.yml
kubectl get hpa -w
kubectl get pod -w
kubectl get deploy -w
5、DaemonSet(ds)
DaemonSet类型的控制器可以保证在集群中的每一台(或指定)节点上都运行一个副本。一般适用于日志收集、节点监控等场景。也就是说,如果一个Pod提供的功能是节点级别的(每个节点都需要且只需要一个),那么这类Pod就适合使用DaemonSet类型的控制器创建。
DaemonSet控制器的特点:
- 每当向集群中添加一个节点时,指定的 Pod 副本也将添加到该节点上
- 当节点从集群中移除时,Pod 也就被垃圾回收了
5.1 DaemonSet 资源清单
apiVersion: apps/v1
kind: DaemonSet
metadata:
name:
namespace:
labels:
controller: daemonset
spec:
revisionHistoryLimit: 3
updateStrategy:
type: RollingUpdate
rollingUpdate:
maxUnavailable: 1
selector:
matchLabels:
app: nginx-pod
matchExpressions:
- {key: app, operator: In, values: [nginx-pod]}
template:
metadata:
labels:
app: nginx-pod
spec:
containers:
- name: nginx
image: nginx:1.17.1
ports:
- containerPort: 80
5.2 示例
pc-daemonset.yml
apiVersion: apps/v1
kind: DaemonSet
metadata:
  name: pc-daemonset
spec:
  selector:
    matchLabels:
      app: nginx-pod
  template:
    metadata:
      labels:
        app: nginx-pod
    spec:
      containers:
      - name: nginx
        image: nginx:1.17.1
5.3 命令
kubectl create -f pc-daemonset.yml
kubectl get ds -o wide
kubectl get pods -o wide
kubectl delete -f pc-daemonset.yml
6、Job
Job,主要用于负责批量处理(一次要处理指定数量任务)短暂的一次性(每个任务仅运行一次就结束)任务。Job特点如下:
- 当Job创建的pod执行成功结束时,Job将记录成功结束的pod数量
- 当成功结束的pod达到指定的数量时,Job将完成执行
6.1 Job 资源清单
apiVersion: batch/v1
kind: Job
metadata:
name:
namespace:
labels:
controller: job
spec:
completions: 1
parallelism: 1
activeDeadlineSeconds: 30
backoffLimit: 6
manualSelector: true
selector:
matchLabels:
app: counter-pod
matchExpressions:
- {key: app, operator: In, values: [counter-pod]}
template:
metadata:
labels:
app: counter-pod
spec:
restartPolicy: Never
containers:
- name: counter
image: busybox:1.30
command: ["bin/sh","-c","for i in 9 8 7 6 5 4 3 2 1; do echo $i;sleep 2;done"]
6.2 示例
pc-job.yml
apiVersion: batch/v1
kind: Job
metadata:
name: pc-job
spec:
completions: 6
parallelism: 3
manualSelector: true
selector:
matchLabels:
app: counter-pod
template:
metadata:
labels:
app: counter-pod
spec:
restartPolicy: Never
containers:
- name: counter
image: busybox:1.30
command: ["bin/sh","-c","for i in 9 8 7 6 5 4 3 2 1; do echo $i;sleep 3;done"]
6.3 命令
kubectl create -f pc-job.yml
kubectl get job -o wide -w
kubectl get pods -w
kubectl delete -f pc-job.yml
7、CronJob
CronJob控制器以 Job控制器资源为其管控对象,并借助它管理pod资源对象,Job控制器定义的作业任务在其控制器资源创建之后便会立即执行,但CronJob可以以类似于Linux操作系统的周期性任务作业计划的方式控制其运行时间点及重复运行的方式。也就是说,CronJob可以在特定的时间点(反复的)去运行job任务。
7.1 CronJob资源清单
apiVersion: batch/v1beta1
kind: CronJob
metadata:
name:
namespace:
labels:
controller: cronjob
spec:
schedule:
concurrencyPolicy:
failedJobHistoryLimit:
successfulJobHistoryLimit:
startingDeadlineSeconds:
jobTemplate:
metadata:
spec:
completions: 1
parallelism: 1
activeDeadlineSeconds: 30
backoffLimit: 6
manualSelector: true
selector:
matchLabels:
app: counter-pod
matchExpressions: 规则
- {key: app, operator: In, values: [counter-pod]}
template:
metadata:
labels:
app: counter-pod
spec:
restartPolicy: Never
containers:
- name: counter
image: busybox:1.30
command: ["bin/sh","-c","for i in 9 8 7 6 5 4 3 2 1; do echo $i;sleep 20;done"]
需要重点解释的几个选项:
schedule: cron表达式,用于指定任务的执行时间
    */1    *      *    *     *
    <分钟> <小时> <日> <月份> <星期>

    分钟 值从 0 到 59.
    小时 值从 0 到 23.
    日 值从 1 到 31.
    月 值从 1 到 12.
    星期 值从 0 到 6, 0 代表星期日
    多个时间可以用逗号隔开; 范围可以用连字符给出;*可以作为通配符; /表示每...
concurrencyPolicy:
    Allow:   允许Jobs并发运行(默认)
    Forbid:  禁止并发运行,如果上一次运行尚未完成,则跳过下一次运行
    Replace: 替换,取消当前正在运行的作业并用新作业替换它
7.2 示例
pc-cronjob.yml
apiVersion: batch/v1beta1
kind: CronJob
metadata:
  name: pc-cronjob
  labels:
    controller: cronjob
spec:
  schedule: "*/1 * * * *"
  jobTemplate:
    metadata:
    spec:
      template:
        spec:
          restartPolicy: Never
          containers:
          - name: counter
            image: busybox:1.30
            command: ["bin/sh","-c","for i in 9 8 7 6 5 4 3 2 1; do echo $i;sleep 3;done"]
7.3 命令
kubectl create -f pc-cronjob.yml
kubectl get cronjobs
kubectl get jobs
kubectl get pod
kubectl delete -f pc-cronjob.yml
扩展 Service(svc)
svc 资源清单文件
apiVersion: v1
kind: Service
metadata:
name: service
namespace: dev
spec:
selector:
app: nginx
type:
clusterIP:
sessionAffinity:
ports:
- protocol: TCP
port: 3017
targetPort: 5003
nodePort: 31122
- ClusterIP:默认值,它是Kubernetes系统自动分配的虚拟IP,只能在集群内部访问
- NodePort:将Service通过指定的Node上的端口暴露给外部,通过此方法,就可以在集群外部访问服务
- LoadBalancer:使用外接负载均衡器完成到服务的负载分发,注意此模式需要外部云环境支持
- ExternalName: 把集群外部的服务引入集群内部,直接使用